2.1. Installing OCaml Libraries and Setting up Editors
First, we need to install all the software necessary for fully fledged OCaml development. The instructions on how to do so are provided below. If you followed the instructions, but something is not working as it should, check out the Troubleshooting section at the end of this page.
2.1.1. Microsoft Windows 10
Unfortunately, the OCaml infrastructure is not supported well on Windows (natively), therefore developing large multi-file projects in it is problematic. To circumvent this issue, we will be running OCaml and the related software using Windows Subsystem for Linux, a utility that allows to run a distribution of Linux within your Windows 10 system. This setup takes a large number of steps, but once you’re done with it, you’ll have a premium support for OCaml, and also a fully functional Linux distribution installed on your machine.
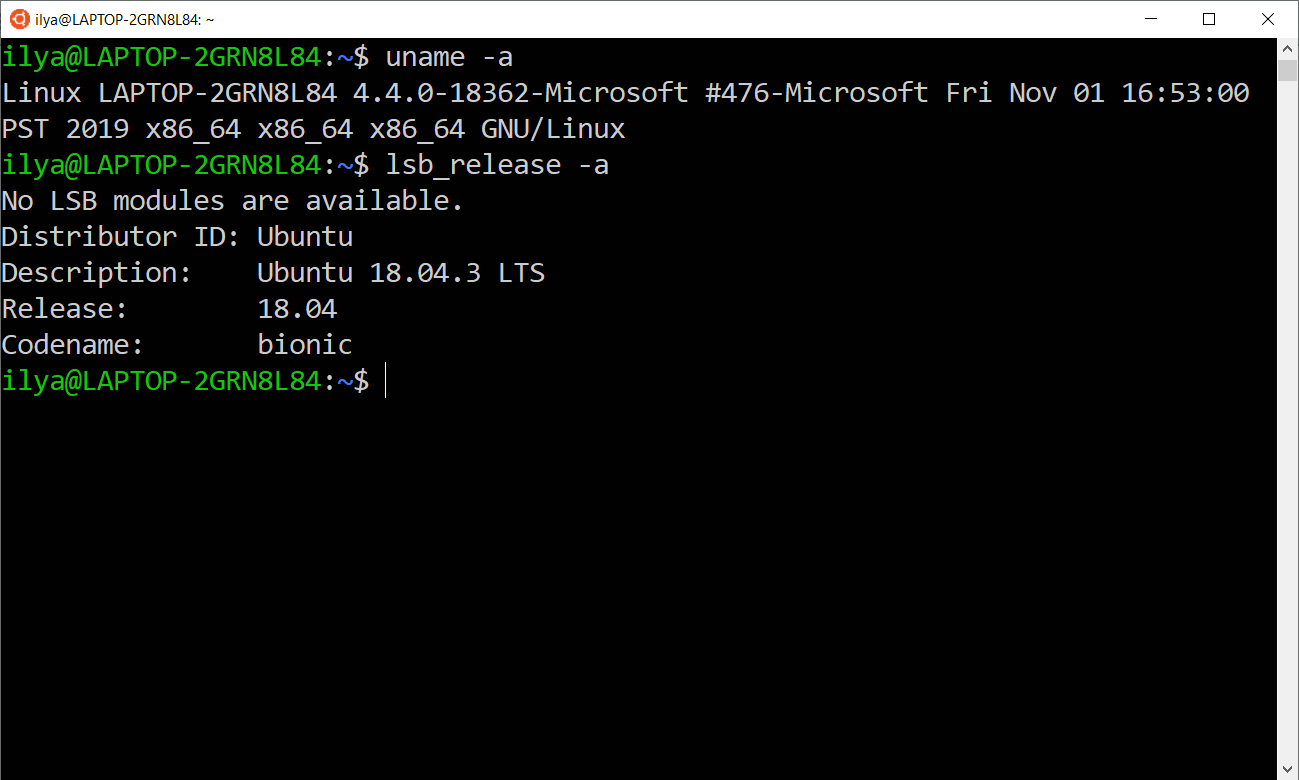
- First, let us enable WSL and install a Linux distribution. The detailed steps are given in this online tutorial. Don’t forget the password for the Linux account you’ve just created: you will need it to install some software. At the end of this step, you should be able to run a “bare-bone” Ubuntu Linux terminal as an application within your Windows system. In my case, it looks as follows.
You can access your Windows home folder from WSL Linux via tha path
/mnt/c/Users/YOURNAME/whereYOURNAMEis your Windows user name. It is convenient to make a symbolic link for it, so you could access it quickly, for instance, calling ithome. This is how you create such a link:cd ~ ln -s /mnt/c/Users/YOURNAME/ home
Now you can navigate to you Windows home folder via
cd ~/homeand to your Linux home folder viacd ~.
Next, we need to install a graphical shell for the Linux distribution running in WSL. This article provides detailed instructions on how to do so. Here are some comments:
- You don’t have to install Firefox in WSL Linux, as you can use your Windows browser instead.
- The required graphical XServer shell (run separately from Windows) can be downloaded from this resource.
- To run Linux with the graphical mode, you will always have to
first run the XServer, and then the Ubuntu shell, in which you
will have to type
xfce4-session. The Ubuntu window will have to stay running as long as you use Linux.
If the Linux image appears to be somewhat “blurred”, here’s how to fix it:
First, add the following lines at the end of the file
~/.bashrcin your Linux home folder:export GDK_SCALE=0.5 export GDK_DPI_SCALE=2
This can be done using the
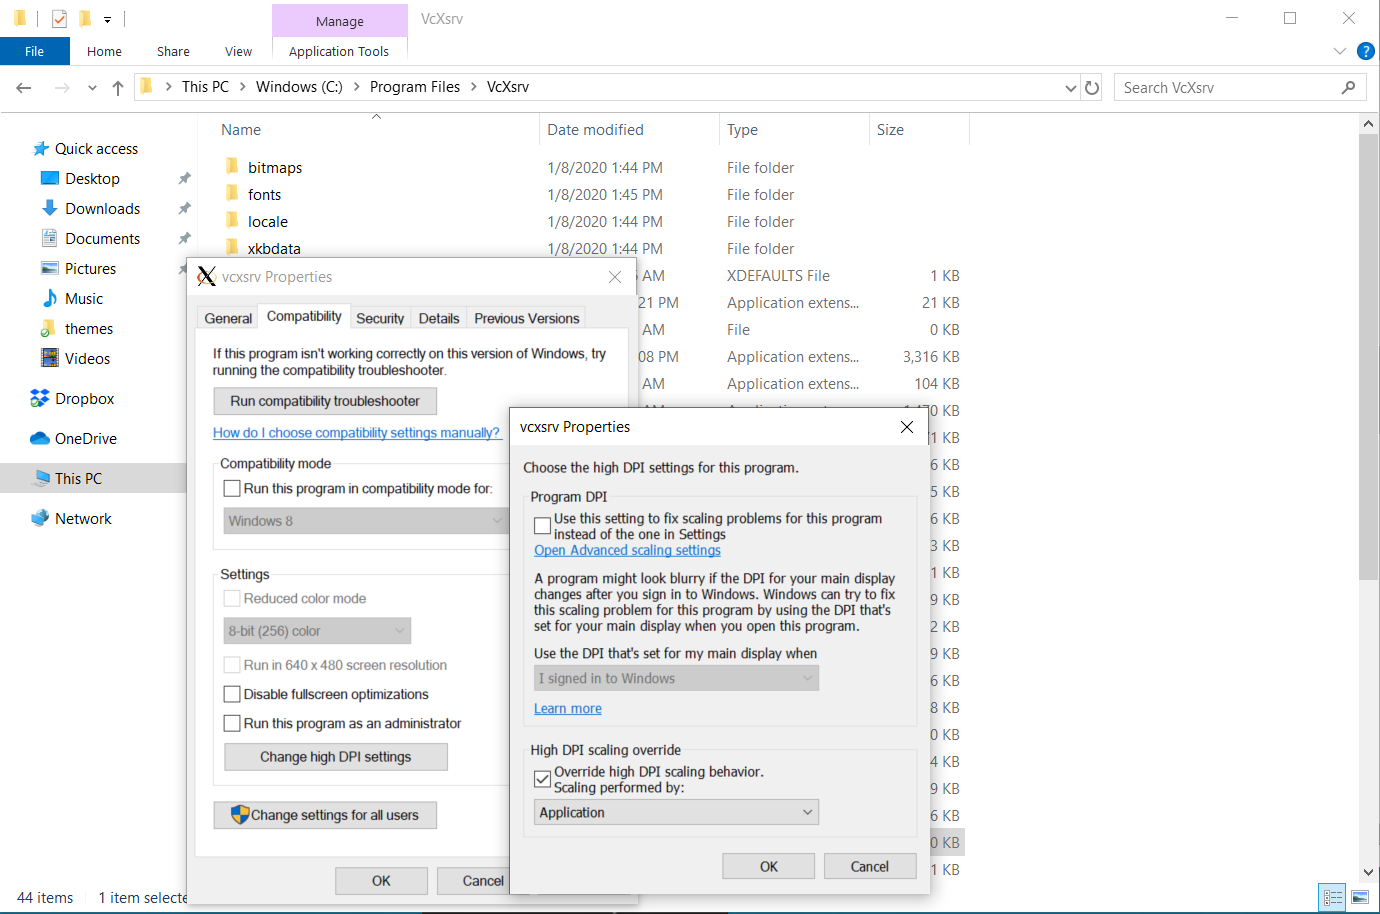
nanoeditor, similarly to how it is done in this tutorial.Next, close any running instance of that X server (VcxSrv). Open the folder where you have installed it (e.g.,
C:\Program
Files\VcXsrv
), right click onvcxsrv.exe. Choose Properties > Compatibility tab > Change high DPI settings > Enable Override high DPI scaling and change it toApplicationoption. Here is the screenshot looks like after changing the settings:
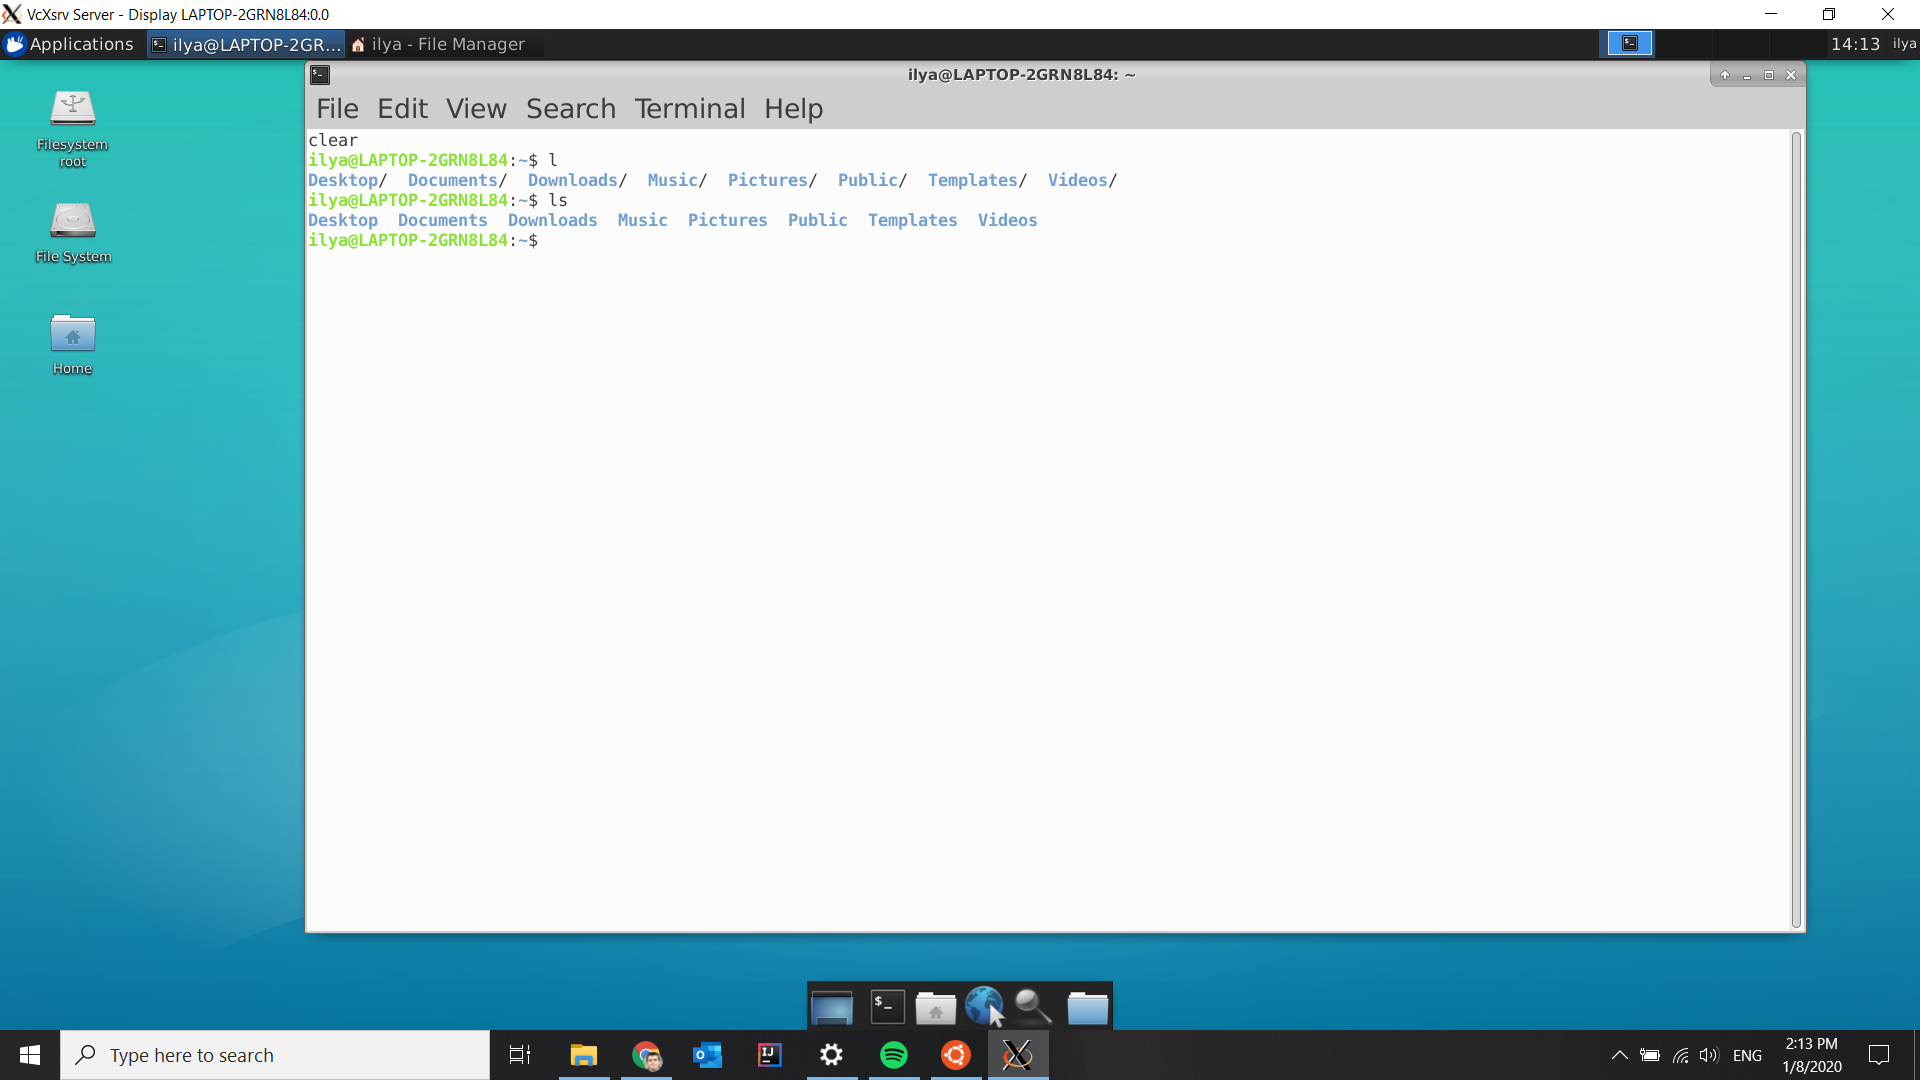
- Once you have done all of this, you can run Linux terminal within the graphical XFCE shell and execute all commands from it, rather than from a Windows-started Ubuntu terminal. In my case, it looks as follows:
It’s time to install OCaml libraries. First, we need to install a number of Linux packages that OCaml needs. Run the following lines from Linux terminal (it can be done both from within graphical shell, or from within a separate Ubuntu terminal run as a Windows applications):
sudo apt install make m4 gcc pkg-config libx11-dev
Don’t forget to enter the password you’ve created for your Linux account, it might be different from your Windows one. Be patient: installing those packages will take quite some time.
Next, we will install the
opampackage manager for working with different OCaml libraries. Execute the following lines from Linux terminal:sudo add-apt-repository ppa:avsm/ppa sudo apt install opam opam init -y --compiler=4.10.0 --disable-sandboxing eval $(opam env) opam install -y dune core batteries utop graphics merlin ocp-indent
Once done, add the following line to your
~/.bashrcfile:eval $(opam env)
After that, close your terminal window and start a new one.
To check that your OCaml is correctly installed, run
ocamlc --versionfrom the terminal. You should get the output4.10.0, which is the version of the OCaml compiler we have just installed.We recommend you to use VSCode for your OCaml your development, assuming you’ve done steps 1-6.
Start by installing the
Remote-WSLplugin. It is the one suggested the first time you run VSCode. Alternatively, you can install it by pressingCtrl-Shift-P, typinginstall extensions, and choosingInstall Extensionsitem from the dropdown menu, and then finding and installing theRemote-WSLextension.After installing that extension, press
Ctrl-Shift-Pand chooseRemote-WSL: New Window. This will take a few seconds and will start a new window of VSCode that runs inside your WSL Linux (you can even start a Linux terminal there).Next, in this remote window, install the exntesion “OCaml and Reason IDE” in the same way as described above.
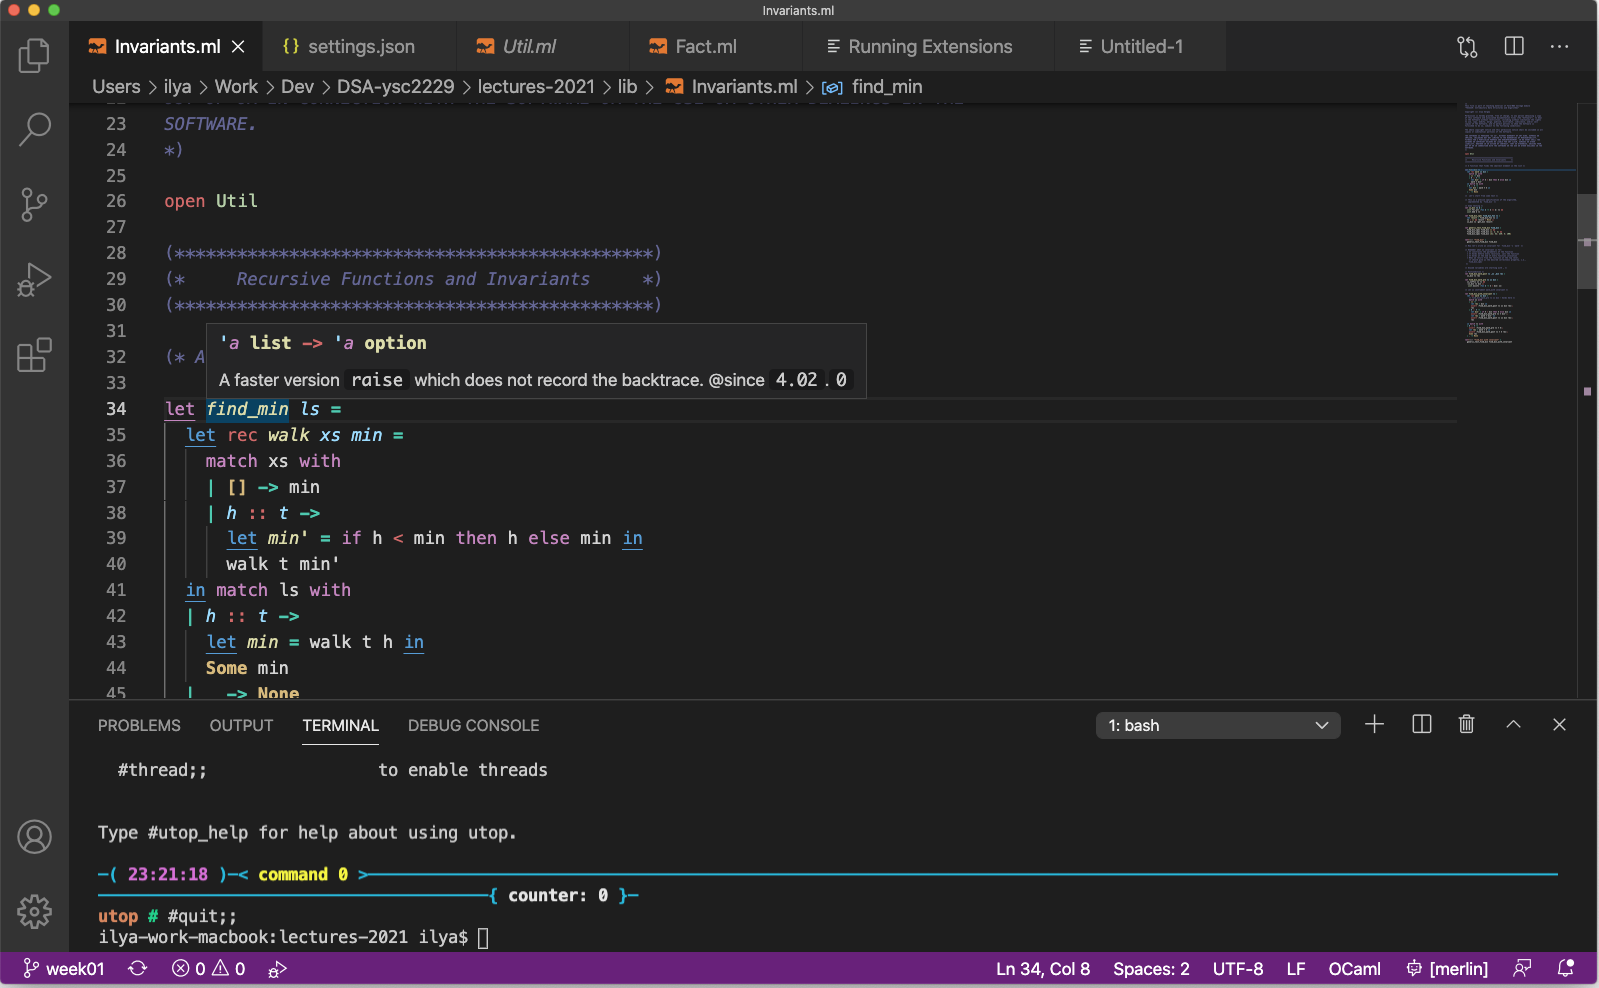
Now, you can open an OCaml file (
Ctrl-Shift-P, followed by “File: Open File”) and enjoy the advanced features: highlighting, code completion, and type information, as well as many others. An example of the UI is shown below. Notice the indicators at the bottom of the screen, showing that VSCode runs in WSL (Ubuntu), with OCaml/merlin support enabled:

2.1.2. Linux
If you’re using Linux, the setup is similar to the one for Windows 10 WSL
described previously. Just follow the points above starting from the step 5. If
you’re using a distribution different from Ubuntu, make sure to use the
corresponding package manager (instead of apt) to get the system packages in
the step 5.
If you wish to use VSCode, just follow the instructions in step 12 for Windows 10 WSL, skipping the part about Remote-WSL and remote window and starting from installing the “OCaml and Reason IDE” extension.
2.1.3. macOS
OCaml is well-supported in macOS, so the installation process is fairly straightforward.
Install the Homebrew package manager for macOS.
Install the following system packages using Homebrew:
brew install make m4 gcc pkg-config
Install the XQuartz X window system for macOS. Make sure it before you install
opamand all libraries from it. We will need this library for a few graphical applications at the end of this course.Once you have done it, log-out from the system and log-in again.
Next, we will install the
opampackage manager for installing and maintaining different OCaml libraries. Execute the following lines from the terminal:brew install opam opam init -y --compiler=4.10.0 eval $(opam env) opam install -y dune core batteries utop graphics merlin ocp-indent
Once done, add the following line to your
~/.bashrcor~/.profilefiles (if they exist, otherwise create~/.bashrc):eval $(opam env)
After that, close your terminal window and start a new one.
Notice that if you had some
opaminstallation before completing step 4, the installation of thegraphicspackage will fail. To avoid it, please, run this line first before installing the listed above packages:opam switch reinstall 4.10.0
To check that your OCaml is correctly installed, run
ocamlc --versionfrom the terminal. You should get the output4.10.0, which is the version of the OCaml compiler we have just installed.We suggest you use VSCode for OCaml development. To do so, after downloading and installing the VSCode IDE, you you will need to install the OCaml and Reason IDE extension, which enables OCaml support in VSCode (assuming you have installed all libraries above via
opamin the step 3). You can install the extension by pressingCommand-Shift-P, typingInstall Extensions, and choosing that item from the dropdown menu.Now, if you open an OCaml file, it will look like that:
2.1.4. FAQ & Troubleshooting
Question: May I use Emacs for programming in OCaml?
Answer: Of course, you can! This tutorial used to have notes on how to configure Emacs/Aquamacs for OCaml, but the experience of the last few years has confincingly demonstrated that VSCode is a much simpler and more convenient to use alternative, so why don’t you give it a try?
Problem: In-line tests are highlighed red in my editor with an error message
ppx_inline_test: extension is disabled because the tests would be ignored ....Solution: This is a bug in a certain version of the tests. To fix it, install a fixed version of the testing liberary as follows:
opam install -y ppx_inline_test.v0.14.0
Then, in your project, run
make clean; make. After that, the error in the editor should be gone.Problem: Merlin is not detected by VSCode, which gives an error “
ocamlmerlinis not found”.Solution: This is the case if you didn’t add
eval $(opam env)to the configuration files (e.g.,~/.bashrcand/or~/.profile). Adding it and restarting VSCode should fix it.Alternatively (NOT RECOMMENDED), you can add the following lines to the
settings.jsonfile (with your account name instead ofYOURNAME). To find that file, pressCommand-Shift-Pand choose “Preferences: Open Settings (JSON)” (to find it just type “settings” and choose the correct option):"reason.path.ocamlmerlin": "/Users/YOURNAME/.opam/4.10.0/bin/ocamlmerlin"
For example, in my case the contents of this file look as follows:
{
    "window.zoomLevel": 2,
    "search.searchOnType": false,
    "reason.path.ocamlmerlin": "/Users/ilya/.opam/4.10.0/bin/ocamlmerlin"
}
Don’t forget to save the file.
Problem: In VSCode, a Git icon in the vertical panel on the left keeps blinking with the “watch” symbol when being updated.
Solution: Add the following line to your
settings.jsonfile:"git.showProgress": false
Problem: When installing
tuaregmode withopamon macOS, I get an error:[ERROR] The compilation of conf-emacs failed at ...
Solution: This can be solved by installing a particular version 2.0.8 of
tuareg:opam install tuareg.2.0.8
Another way to fix it is to ensure that the executable
emacsis in yourPATH. This can be done by, e.g., installingemacsvia Homebrew:brew install emacs